Crepe Paper Red Forest Clover Video Tutorial

Crepe Paper Red Forest Clover Video Tutorial
Clover it
Fall is the season of rich colors, cozy projects, and fresh inspiration. And lucky for you, we have just the flower to welcome it in. Our Crepe Paper Red Forest Clover Video Tutorial arrives on September 26th, and we can’t wait to craft along with you! We love this flower’s deep crimson hues and playful texture. It adds instant warmth to your fall décor while giving you a fun way to sharpen your paper plant skills.
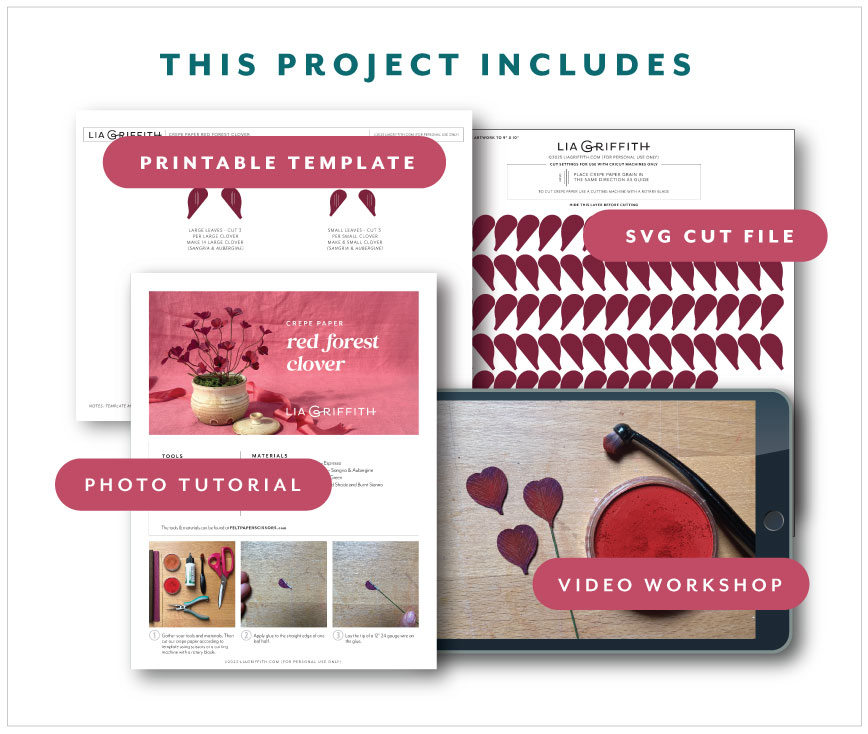
Tools
Materials
- Lia Griffith Extra-Fine Crepe Paper – Espresso
- Lia Griffith Double-Sided Crepe Paper – Sangria & Aubergine
- Floral Wire – 24-Gauge Paper Covered Green
- PanPastel® Artist Pastel – Permanent Red Shade and Burnt Sienna
- Bearly Art Precision Craft Glue - 2oz
Goodies You Can't Google
You've found a premium project. But for less than the price of a fancy coffee... You'll get instant access to this and over 2,000 other premium projects inside the Lia Griffith membership!
Become a Member
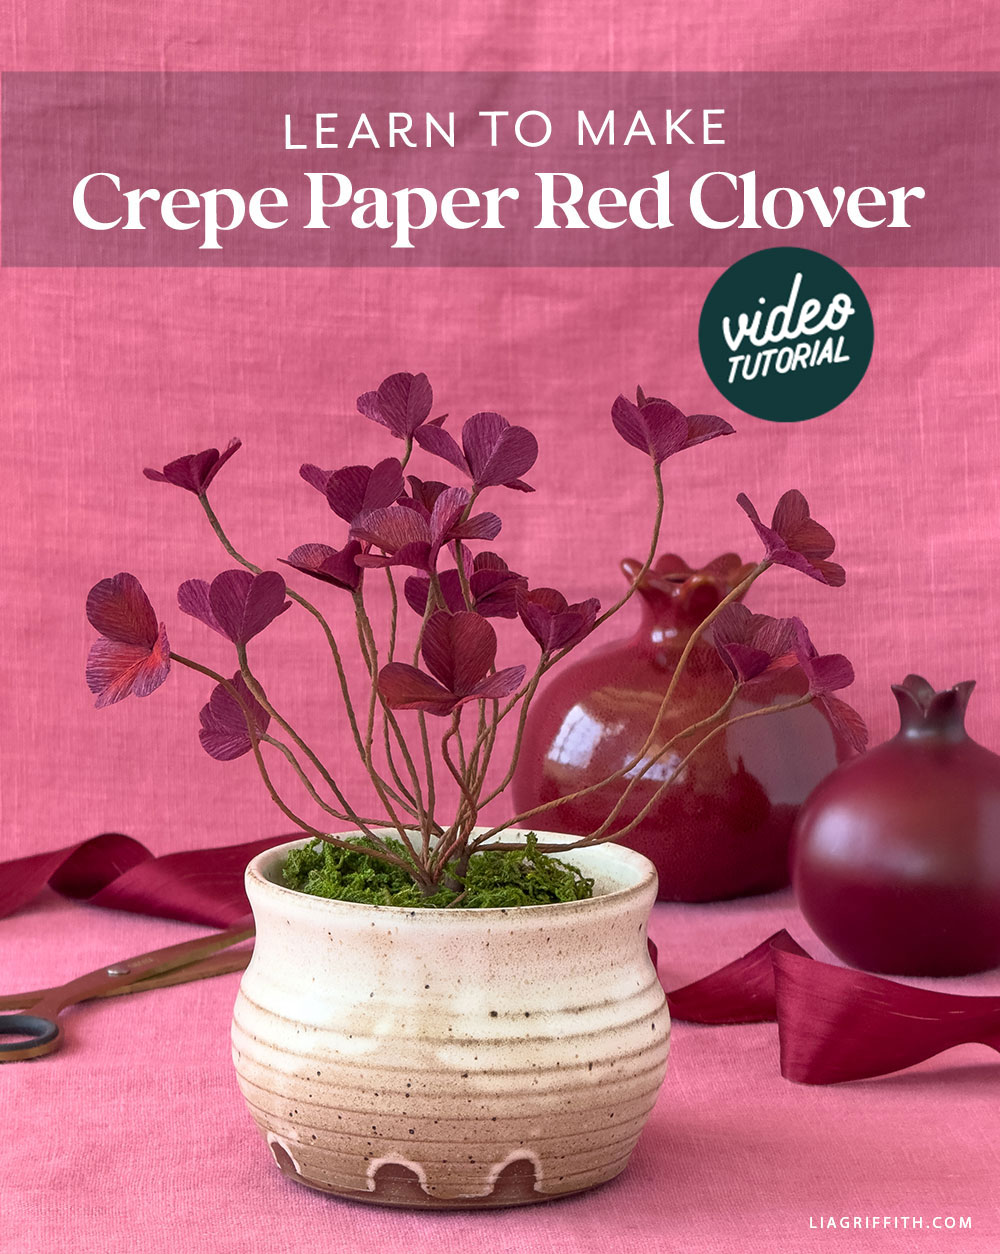
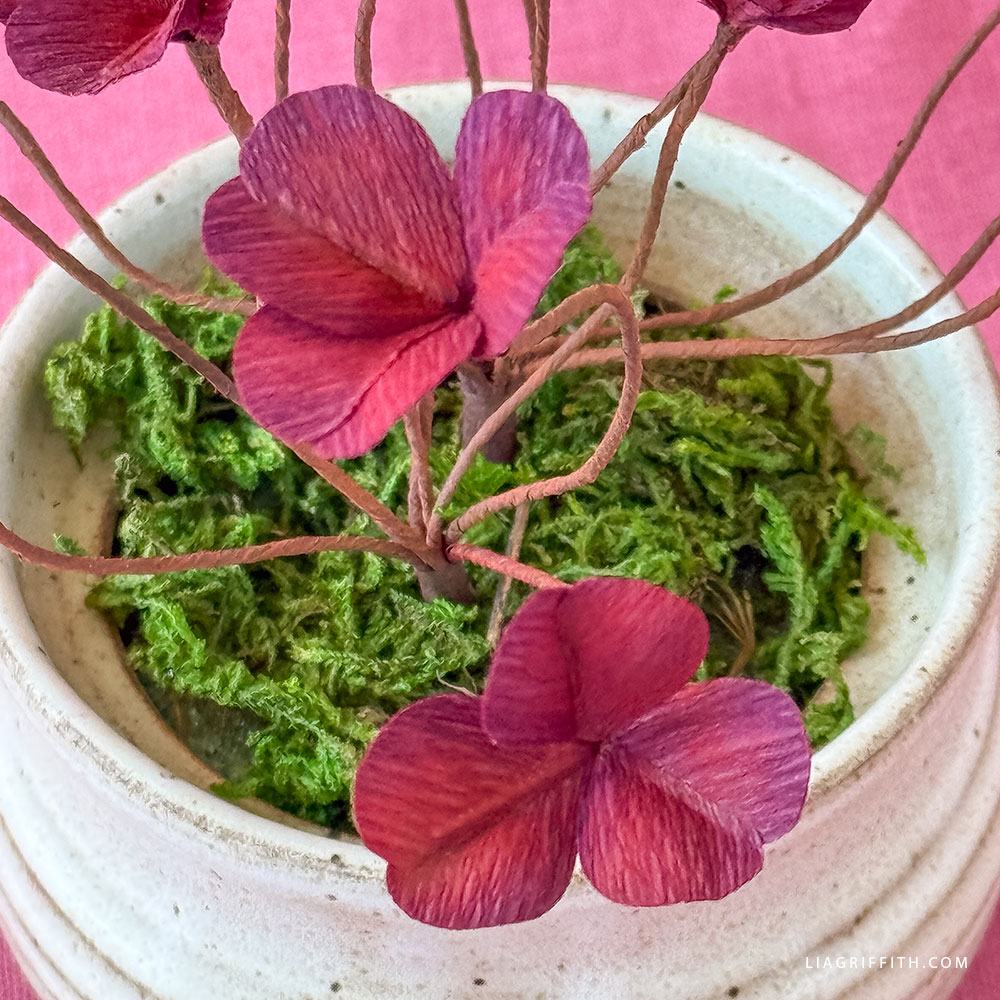
This Crepe Paper Red Clover is an intermediate-level project that’s all about detail and dimension. You’ll start by building up the clustered petals that give the clover its signature shape, then layer in leaves to complete the look. By using richly colored crepe paper, each bloom comes alive with a vibrancy that feels perfectly suited for the fall. Also, every cut, curl, and layer brings you closer to creating a flower that feels like it’s leapt right out of the garden.
For centuries, the clover has symbolized good luck, prosperity, and growth. Its rounded blooms and balanced leaves remind us of nature’s harmony, making it a beautiful emblem to bring into your home during a season of transition. Crafting it in crepe paper not only lets you bring this emblem of transition into your space, but also allows you to keep it fresh and beautiful indefinitely.
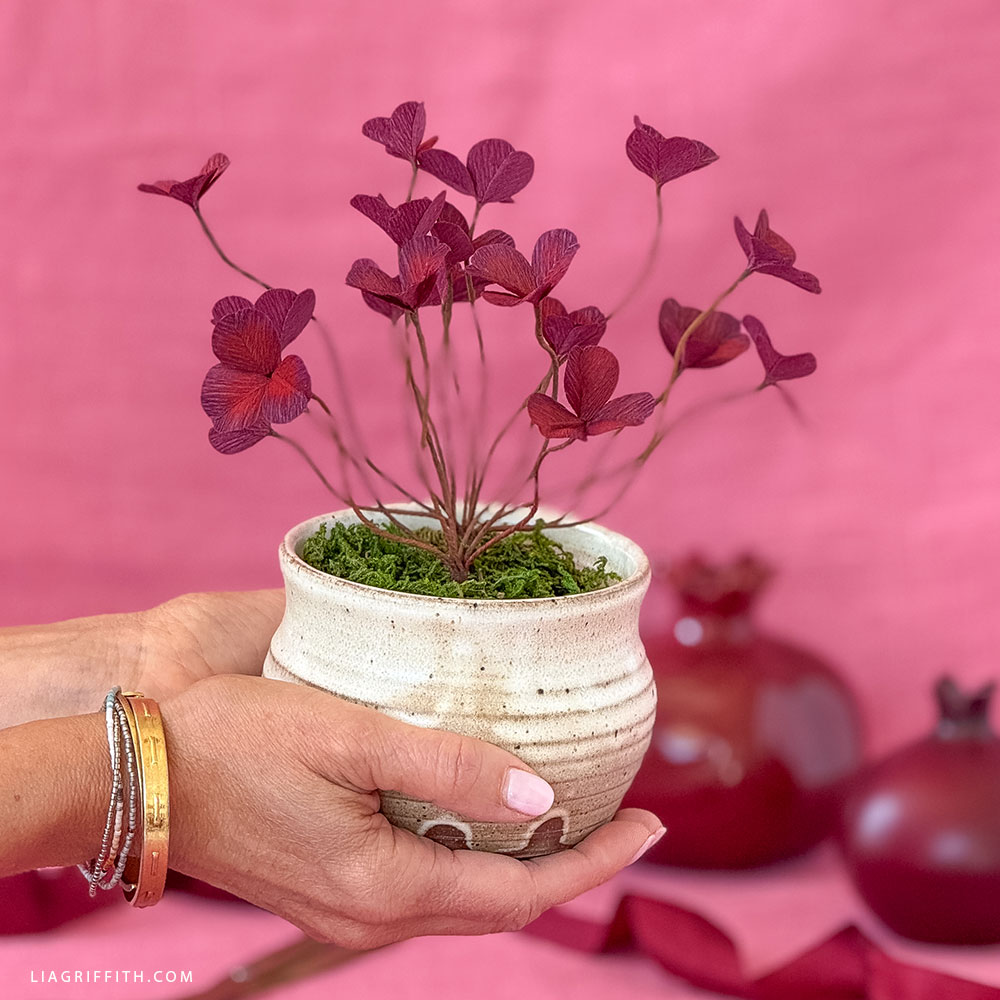
When finished, your Red Forest Clover is ready to steal the spotlight. Display it in a pot for an understated touch of fall charm. Or, combine a few stems into a lush bouquet that celebrates the season’s bold colors. However you style them, these are sure to wow!
We can’t wait to see your version of this gorgeous plant, so don’t miss our video tutorial, which premieres on September 26th! Be sure to share your Crepe Paper Red Clover with us on social media using #MadeWithLia, and post them in our crafters’ community to connect, encourage, and inspire one another.
All the Goodies You Can't Google 🎁
Tired of scrolling endlessly for the perfect project? Save time, money, and Google-induced headaches with us! Our membership makes it easy to create beautifully finished crafts without needing to look all over the internet for ideas and materials or spend lots of money on individual videos and templates.
Become a Member
Discussion
Ask Lia or the community!
6 Comments
-

emily
September 27, 2025 at 9:40am
-

Lia
September 29, 2025 at 9:55am
@emily
-

Karen
September 16, 2025 at 8:59pm
-

Lia
September 17, 2025 at 9:16am
@Karen
-

Karen
September 18, 2025 at 7:12am
@Lia
-

Lia
September 19, 2025 at 8:48am
@Karen
Back to the TopI’ve started some bunches of these in a bright purple crepe paper to add to my wedding bouquet as filler! (not exactly a color that exists in nature for these per se) I found that if you keep the second leaf folded, add a drop of glue at the base, line up the bottom points with the wired leaf, you can just leave the third leaf flat and add glue to the bottom point to create a little leaf ‘sandwich.’ It will join the bottom points almost exactly like in the video!
Brilliant!! Share photos of your final bouquets, too.
How do i find the video for this project?
The video will be available on September 26, as mentioned in the first paragraph. 🙂
Great thank you.I will make sure to read the descriptions more carefully so i can mark my calendar. Thank you for all the extra video tutorials.
You are so welcome!