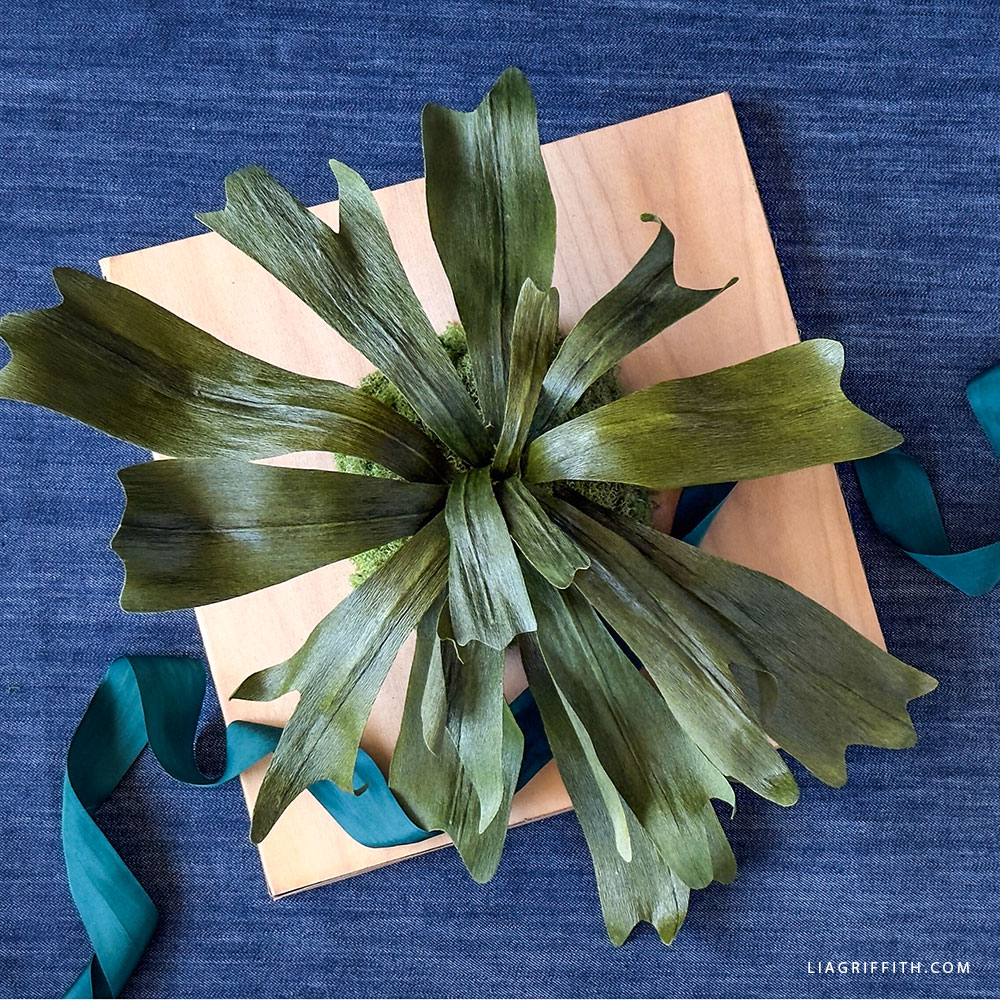
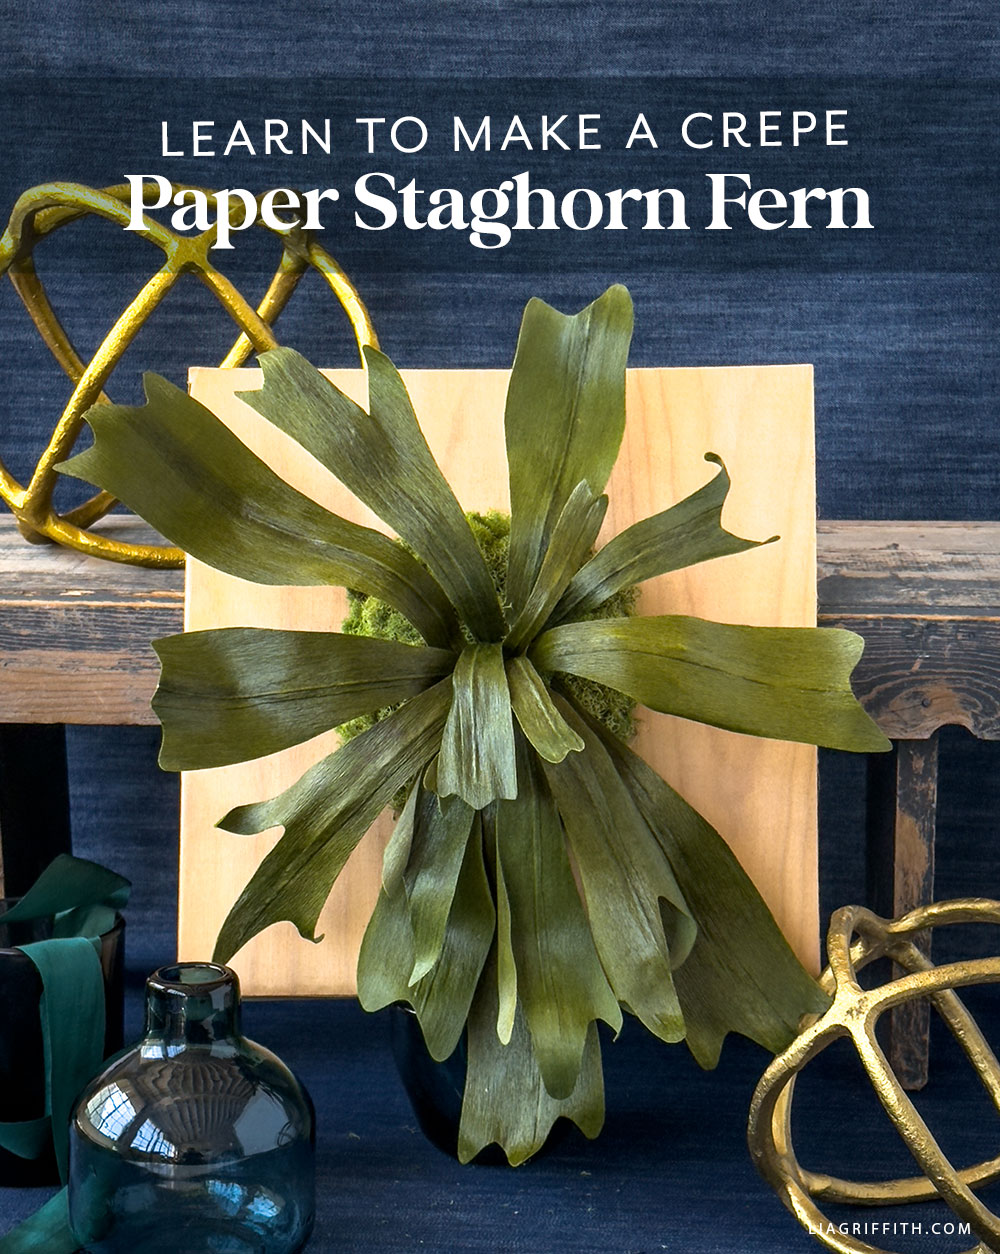
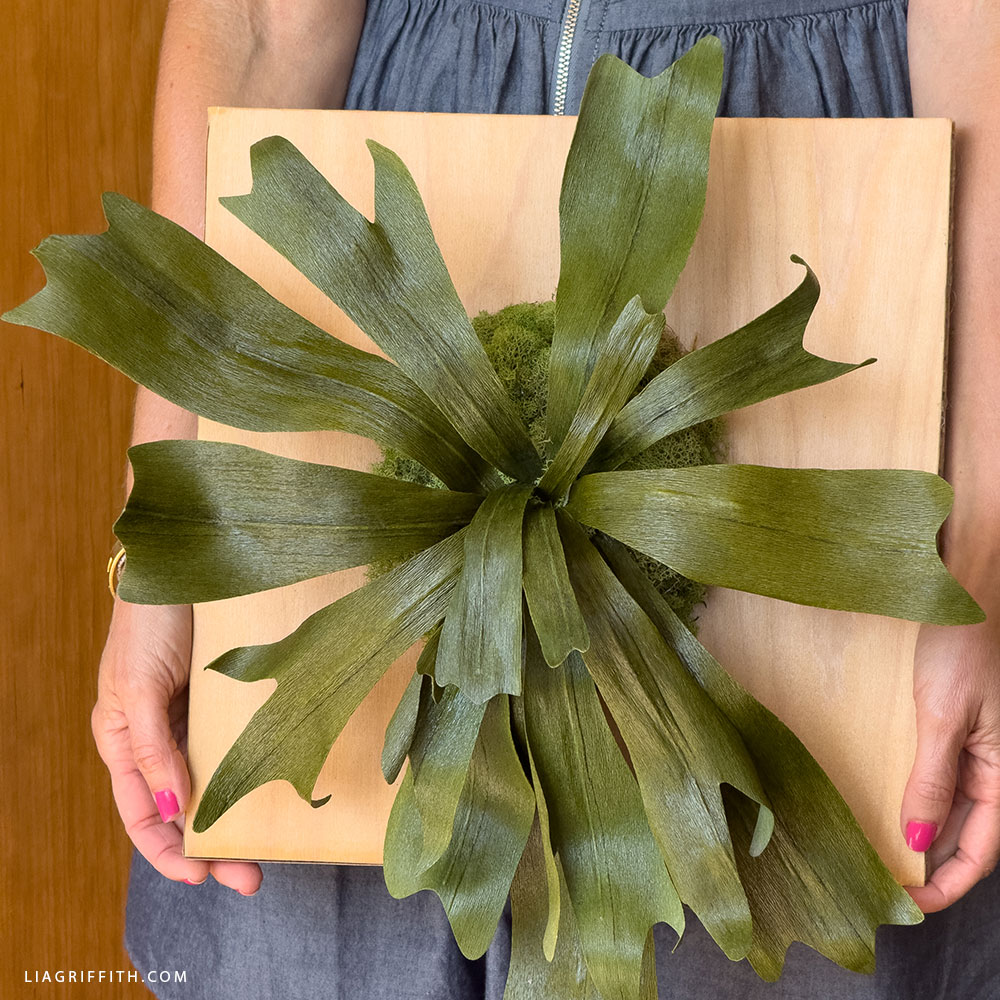
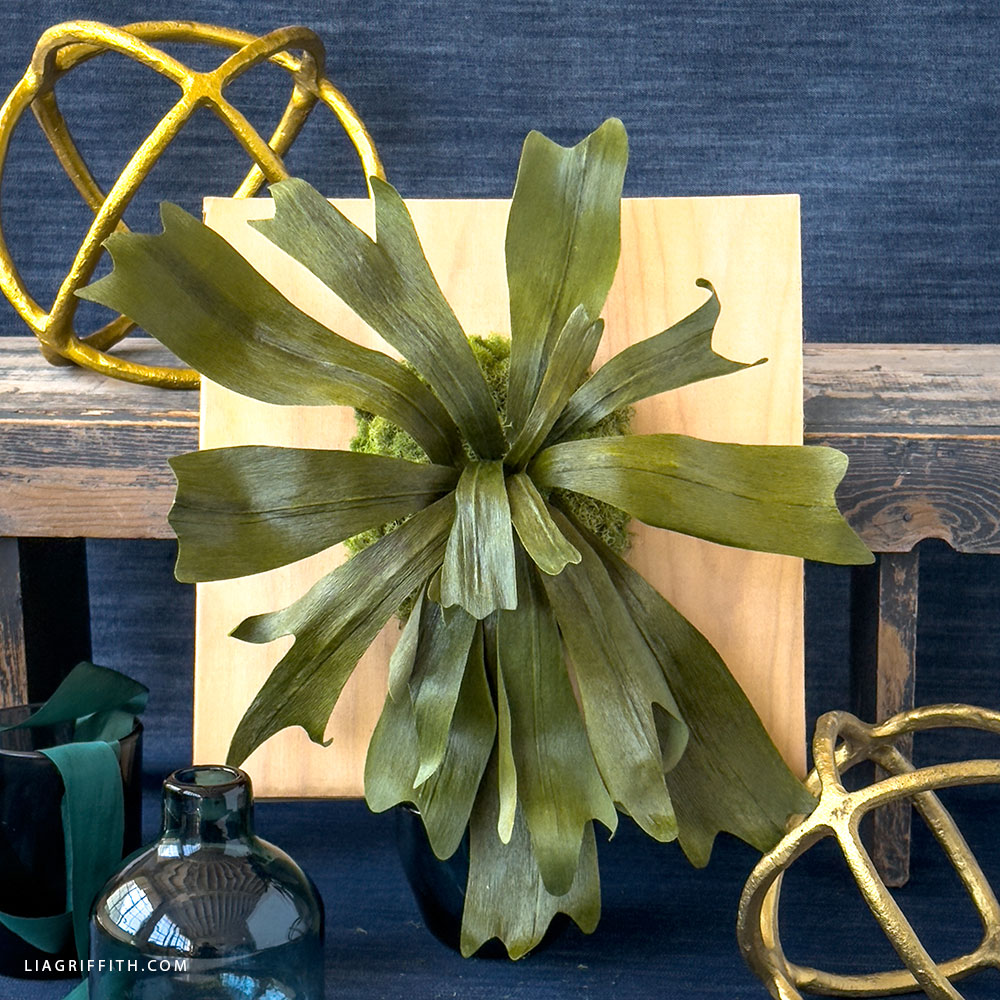
Mounted Crepe Paper Staghorn Fern
(Fern)ished by the Forest
Ever walked into someone's home and done a double-take at what looks like antlers growing from their wall? That's the magic of staghorn ferns – nature's most dramatic statement piece. But here's the thing: not everyone can keep the real deal alive (no judgment, we've all been there). That's why we're obsessed with creating incredibly realistic paper versions that capture all the drama with zero maintenance.
Materials
- Double Sided Crepe Paper - Ferns + Moss
- PanPastel - Bright Yellow Green Shade (680.3)
- Mod Podge
- Floral Wire – 24-Gauge Paper Covered Green or Floral Wire – 24-Gauge Paper Covered White
- Wood Square - 12x12"
- Foam Ball Half - 4.5”
- Moss
Goodies You Can't Google
You've found a premium project. But for less than the price of a fancy coffee... You'll get instant access to this and over 2,000 other premium projects inside the Lia Griffith membership!
Become a Member
Why We Love Staghorn Ferns
These fascinating plants get their name from those distinctive fronds that look exactly like deer or elk antlers. In the wild, they're epiphytes – fancy plant-speak for growing on trees without soil – which is why people mount them on walls like living sculptures. While they're not our absolute favorite plant (that's a tough competition!), they're definitely one of the most unique ways to bring nature-inspired art into your home.
Let's get real for a second. Real staghorn ferns need bright indirect light, weekly soaking sessions where you literally take them off the wall, and regular misting. They're stunning, but they're also a commitment. Our paper version? It gives you that same "wow factor" without the plant parent anxiety.
The Secret to Realistic Paper Staghorns
The magic is in the materials and technique:
Double-Sided Crepe Paper: This is the game-changer. The texture and slight stretch of crepe paper mimics the natural variations in real fern fronds. Using double-sided paper in varying shades of green creates incredible depth – lighter greens for newer growth, deeper forest greens for mature fronds.
The Mod Podge Finish: Here's where it gets good. Real staghorn fronds have this subtle, almost waxy sheen that makes them look healthy and vibrant. A careful application of Mod Podge gives our paper fronds that exact same glossy finish. It's uncanny how realistic it looks – guests will absolutely think it's real until they get close.
Creating the Perfect Mount
The mounting is what really sells the illusion. Here's our approach:
- The Base: We use a foam ball cut in half as our foundation. This creates the perfect dome shape that mimics how staghorns naturally grow from their mounting point.
- The Natural Touch: Covering the foam with reindeer moss is absolutely perfect – it's like these two were meant to be together. The soft, textured moss creates that forest-floor feeling and provides the ideal backdrop for the paper fronds to emerge from.
- The Wood Mount: Any piece of wood works, but we love using weathered cedar, reclaimed barn wood, or even a slice of tree trunk. The more character, the better. It grounds the whole piece and gives it that authentic, just-plucked-from-the-forest vibe.
All the Goodies You Can't Google 🎁
Tired of scrolling endlessly for the perfect project? Save time, money, and Google-induced headaches with us! Our membership makes it easy to create beautifully finished crafts without needing to look all over the internet for ideas and materials or spend lots of money on individual videos and templates.
Become a Member
Discussion
Ask Lia or the community!
8 Comments
-

Amanda
October 17, 2021 at 6:41pm
-

Lia
October 18, 2021 at 7:43am
@Amanda
-

Rachael
March 13, 2021 at 3:59pm
-

Lia
March 15, 2021 at 6:23am
@Rachael
-

amy
August 28, 2019 at 8:58am
-

Lia
August 28, 2019 at 11:57am
@amy
-

JULIE
March 2, 2019 at 3:42pm
-

Lia
March 4, 2019 at 11:06am
@JULIE
Back to the TopThe SVG file isn’t showing up when I click on it.
Hi Amanda! I just checked this file and it’s working on our end. Does it not show up for you after clicking the SVG download on our site or after you’ve downloaded it to your desktop? If possible, send a screenshot to us at hello@liagriffith.com so we can see what you are seeing!
If using the SVG’s I assume you cut the SVG first from double sided crepe paper, printing two of each design, then glue the wire “stem” in and then Mod Podge? That makes sense, but will adding the mod Podge after the cut distort the leaf at all? I’m planning on making this for my mum for Mothers Day and I’m a newbie, so really want to get it right.
Hi! Yes, always modpodge after cutting. Otherwise it will gunk up your machine.
Are we suppose to just sandwich the wire between the two layers and glue down just the wire? Or are we supposed to cover the whole piece of crepe paper with hot glue and then put the wire on and other piece of crepe paper on top? Help! I’m doing the project right now.
Hi Amy,
Cover one side of the entire crepe with either tacky glue or mod podge, then sandwich and glue the wire in between the two pieces of crepe paper.
Why doesn’t the SVG had the same number of leaves that the fern in your picture has? Additionally, instead of being advised to “print 2” why aren’t there just two in the SVG? I’m quite unhappy at paying $99 when I’ve had to “fix” every SVG I’ve downloaded. For that much money, I would expect the SVGs to be exactly what’s needed to make the images as shown.
Hi Julie– because it’s easy enough to duplicate leaves in Design Space, in certain projects like this one we like to leave some flexibility and let our members make adjustments based on the materials they have on hand (and how they want their project to look). We always take our members feedback into consideration, so feel free to send your suggestions to hello@liagriffith.com.